A retrospective look at a short visualisation study project from back in October 2020, nearing the end of the Noroff course when time was running short for blog posts.
This fictional project was conceived as an exercise to produce sales documentation images for a catalogue house company. It is an original design for a small apartment building containing four dwellings, required to be between 50-70m2. The ‘company’ required drawings for a new catalogue design including simple plans with areas, dimensioned floor plans, elevations and realistic visualisations of both interior and exterior views.
It was one of the most time-restricted projects of the entire course, with only a week to produce drawings, visualisations and an animation and incorporating newly learned techniques in image compositing. I also embraced the opportunity to expand the layout and adapt the apartments to my own design.
Design Ambitions
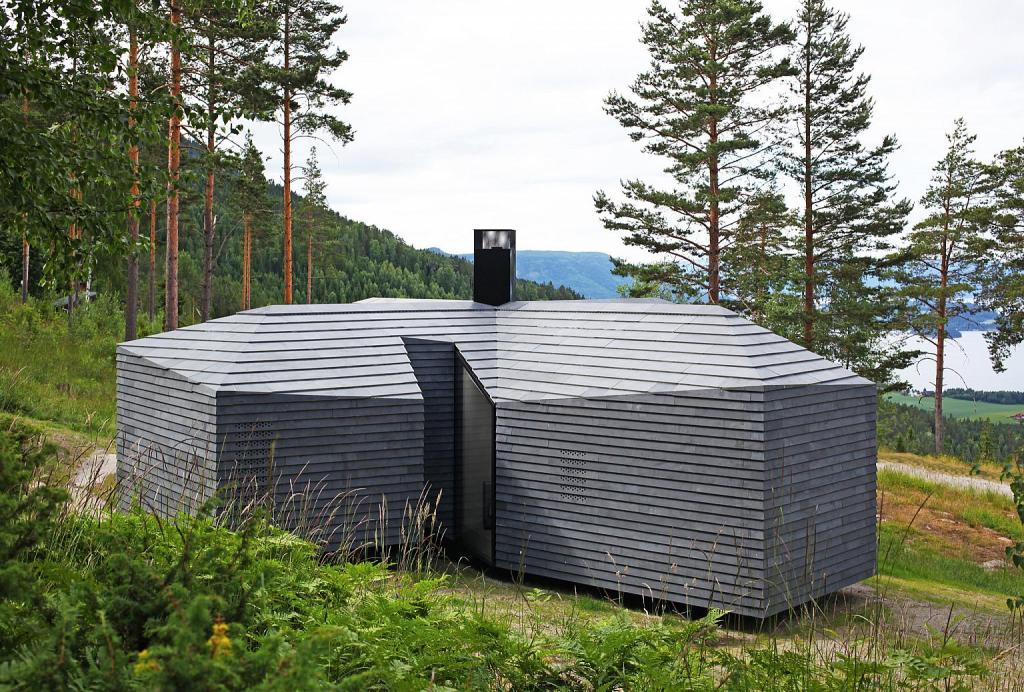
I spent the first day designing and modelling the apartments. The design was less experimental than the previous Forest Cabin project, mostly functional since time budget was relatively small here. The aim from the outset was also to deliver something that resembles conventional construction comparable that seen on the current market. I used marketing brochures from projects based in Norway for inspiration.
Import and compatibility of BIM objects.
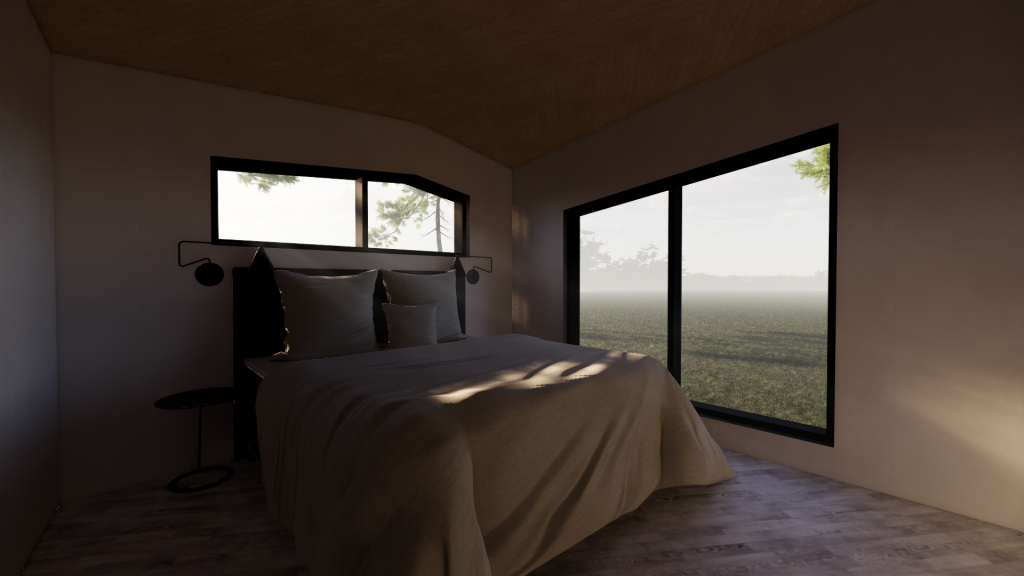
It took a couple of attempts to import the model for rendering. I was impressed with the compatibility between Revit/3DSMax. At the second attempt I added lighting, and was pleasantly surprised at how well this information imported across. Realistic lighting was almost instantly created with correct temperature and luminosity values. BIM families from Simes and Nordlux were used to drop into the Revit model.
The kitchen was also modelled in Revit, using casework from Finsa and a worktop from Cosentino. This took some extra time, but I had identified the main living space as the room I wished to furnish and render and this was an important element.
This extra commitment to loading in BIM objects was a worthwhile exercise, and I feel this has been a considerable step forward in using real-world elements in the drawings. Some license was taken with materials and finishes, e.g. kitchen fronts, but knowing that other suppliers have laminates in this colour without having BIM models available.
Materials, furnishing and rendering
The materials process was a little rushed, with the deadline fast approaching. Some reuse from previous projects was a tactic willfully employed to attempt to cut down the time used in furnishing.
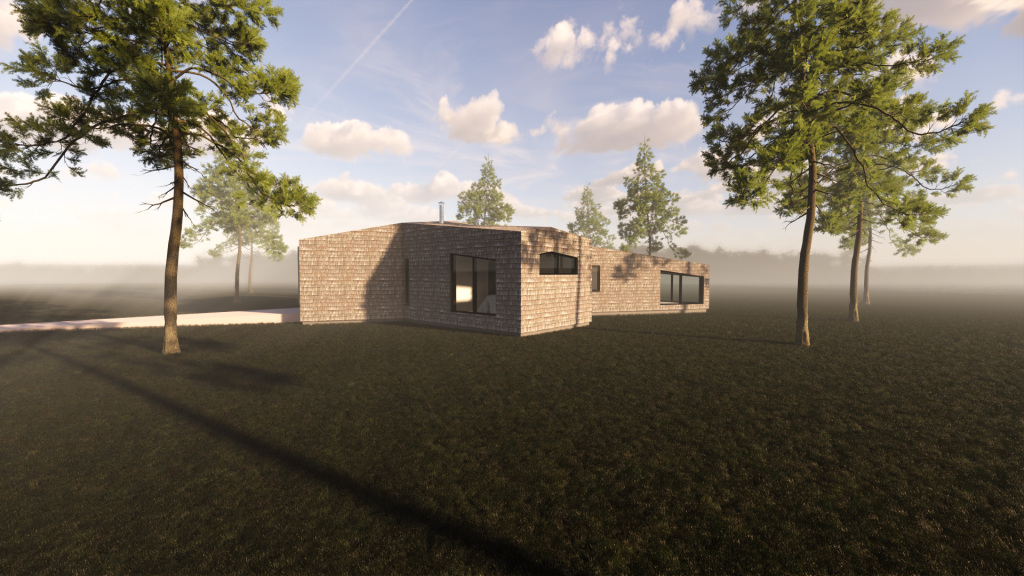
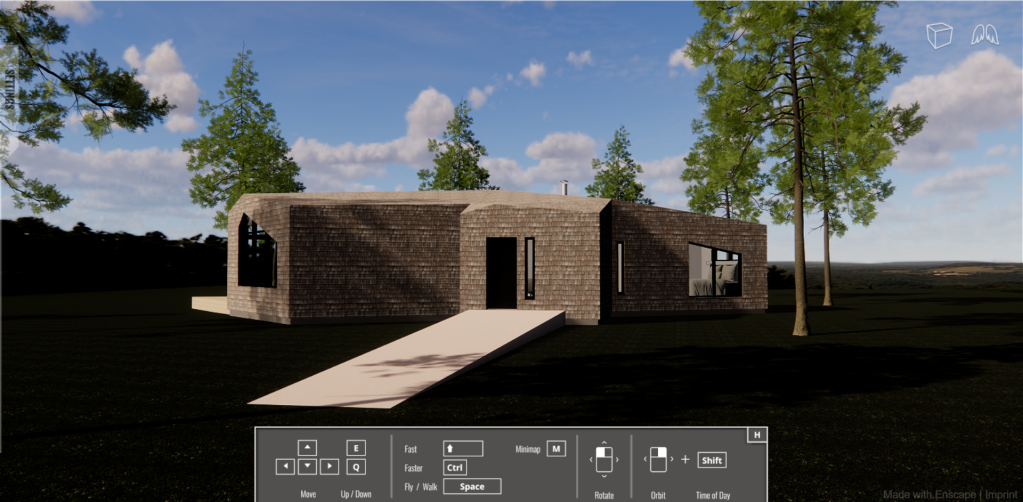
Some new techniques were also attempted, though rapidly. The tree models were downloaded and rendered to .tga, then used as single plane materials in the final model. Previously I had relied on Photoshop to add entourage, but this a more effective method. Grass was also quickly attempted using the hair and fur modifier. Due to time constraints this was not fully configured, but gave a better effect than the original flat surface. Some compromise was taken on the quality of the render in order to achieve a result within the deadline.
Image Compositing
This was a welcome new topic which I can see great benefits of. I managed to set up the rendering of various passes for export to photoshop. Z-depth was also attempted for export, but came out blank. In later work, I learned it could be adjusted in Photoshop with the Exposure settings. I created a manual Z-Depth channel in Photoshop and applied that to a Lens Blur, as if it was the render output. At this stage I couldn’t see another way to render Ambient Occlusion than to replace all of the materials in the model, so I chose to save this as a separate 3DS file and use the render from that in the composites. I later learned there were ways around this using the diagnostics panel of the render setup menu.
Animation
A sweep of the living area is completed over 15 seconds at 25fps, totalling 375 frames. Some experimentation with rendering settings allowed this to be rendered at a reasonable quality over a couple of days. Using the OptiX Denoiser and a minimal amount of camera samples, an optimal rendering time of approx. 3 mins was achieved for each HD frame of 1920×1080. The frames were rendered out to a sequence of individual .png files. As was half expected, 3DSMax crashed midway through this process. Exporting it this way meant it was possible to continue rendering the sequence from the last finished frame. The final image sequence was then imported into Adobe Premiere, where a lens flare was added for additional effect along with some ‘marketing titles’ before exporting and uploading to Youtube.
The quality is satisfactory for this purpose, though it still has some noise and a slightly grainy quality. The smoothing of the OptiX Denoiser has helped improve this but has sacrificed much of texture detail to achieve a low render time. The option of using a render farm was also investigated, and in a commercial application would make sense in order to get the best results. For now, this was a useful exercise in balancing quality vs speed.
Conclusion
This was a complicated task, not only in terms of delivery but time management. Some quality was compromised because of these demands, but to have spent less time on design in the beginning would have made the work less personal and less valid in my portfolio. In hindsight, it was worth it!
Much was learned through this project and the images were an improvement on earlier work. Learning the concept of how to build composite images has been achieved to some extent in a very short period of time, if not yet fully fine-tuned. Some new techniques for modelling landscape entourage in 3DS Max have also been learned, as well as an improved understanding of integrating downloaded product families into Revit.